A sandwich maker is a versatile and convenient kitchen appliance that can help you prepare tasty sandwiches quickly and efficiently. Whether you’re a busy professional or a parent looking for a quick snack option for your kids, mastering how to use a sandwich maker can make your life much easier. This guide will take you through the steps needed to prepare your ingredients, use the appliance, and ensure it is cleaned and maintained properly. Let’s dive into the world of sandwich makers and discover how to use a sandwich maker to whip up delicious sandwiches.

Why Use a Sandwich Maker?
Using a sandwich maker comes with many benefits. One of the primary reasons is the convenience it offers. With a sandwich maker, you can make hot, toasted sandwiches in just a few minutes, making it perfect for quick lunches or snacks, especially when you're short on time. Another advantage is the uniform cooking it provides. Sandwich makers ensure that the bread is evenly toasted and the fillings are properly heated, delivering a consistent and delicious result every time. These appliances allow you to experiment with different types of bread and fillings, offering various sandwich options. Additionally, they are easy to use, require minimal supervision, and are compact for easy storage. Finally, sandwich makers offer a healthier alternative to frying by reducing the need for excess oil or butter.
How Does a Sandwich Maker Work?
Basic Components and Design
A sandwich maker typically consists of two heated plates that press together to toast the bread and cook the filling. These plates are often coated with a non-stick surface, which prevents the bread from sticking and ensures easy cleanup. The non-stick coating also helps evenly cook the sandwich, resulting in a crispy, golden exterior and a perfectly melted interior.
Types of Sandwich Makers
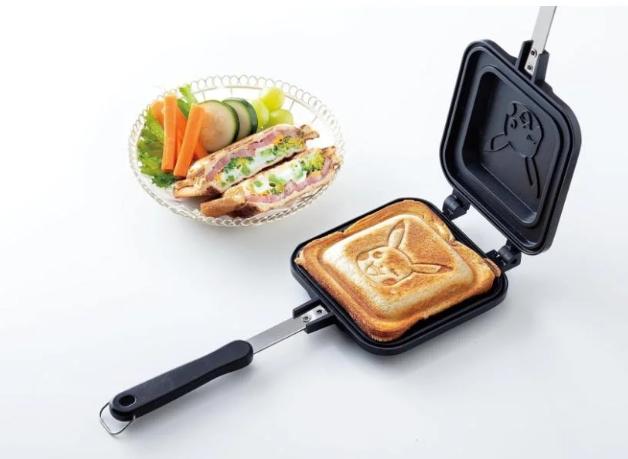
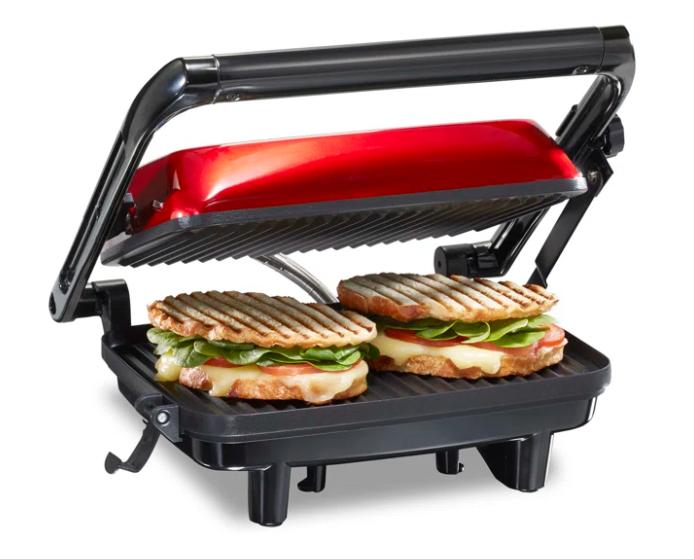
There are several types of sandwich makers, including the standard two-plate models, panini presses, and multi-functional ones with interchangeable plates for making waffles, grilling vegetables, or cooking eggs. The right choice depends on your needs and preferences, such as the types of sandwiches or meals you enjoy most and how versatile you want the appliance to be.
Heating Mechanism Explained
Sandwich makers convert electrical energy into heat through their heating elements. After plugging in the appliance and selecting your desired setting, the plates heat up. Once at the optimal temperature, place your sandwich inside and close the lid. The heated plates cook the sandwich, crisping the bread and melting the filling to perfection.
Step-by-Step Guide: Using a Sandwich Maker
Preparing the Sandwich
Start by selecting your ingredients, beginning with your choice of bread—white, whole grain, or sourdough are all great options. Next, choose your preferred fillings such as cheese, meats, vegetables, and spreads. Make sure to layer the ingredients evenly for a balanced flavor and texture. Be mindful to avoid overfilling the sandwich, as too many toppings can cause it to spill out or cook unevenly, affecting the final result.
Using the Sandwich Maker
Preheat the sandwich maker by plugging it in and waiting for the indicator light to signal that it’s ready. Place your sandwich on the bottom plate, ensuring it’s centered, and close the lid carefully. Apply slight pressure if necessary to ensure even cooking. Cook the sandwich for the recommended time, typically 3-5 minutes, until it reaches a golden brown color and the cheese is fully melted for the perfect breakfast sandwich.
Cleaning and Maintaining the Appliance
Unplug the sandwich maker and let it cool completely before cleaning. Use a damp cloth to wipe down the plates. For stubborn residue, apply a small amount of mild detergent and scrub gently with a non-abrasive sponge. Never immerse the appliance in water to avoid damage. Be sure to regularly inspect the power cord and plates for any signs of wear, cracks, or other damage to ensure safe usage.

Safety Tips for Using a Sandwich Maker
Electrical Safety
Always ensure the sandwich maker is plugged into a grounded outlet to avoid any electrical issues. Avoid using extension cords, as they can be a safety hazard. Never operate the appliance with a damaged cord, as it may lead to malfunction or potential injury. Unplug the device before cleaning and when it’s not in use to ensure safety and prolong its lifespan.
Heat Precautions
The plates and exterior of the appliance can get extremely hot during use. To avoid burns, always handle it with care, using oven mitts if necessary. Allow the appliance to cool down completely before cleaning to ensure your safety. Taking these precautions will help protect you from potential injury and extend the lifespan of the appliance.
Proper Storage Tips
Store the sandwich maker in a cool, dry place to ensure it remains in good condition. Before storing, make sure the appliance is completely dry to prevent electrical hazards or mold growth. Avoid wrapping the power cord tightly around the appliance, as this could cause damage to the cord or internal components. Proper storage ensures longevity and safety.
Conclusion
A sandwich maker is a handy kitchen appliance that can significantly simplify your meal preparation process. If you're wondering how to use a sandwich maker, this guide will walk you through the steps to easily make delicious, evenly toasted sandwiches while ensuring that your appliance stays in good condition. Remember to prioritize safety, keep the appliance clean, and enjoy the convenience it brings to your culinary routine.
FAQs
What types of bread are best for sandwich makers?
Thicker slices of bread work well as they can hold the filling better. Whole grain, sourdough, and white bread are popular choices. Avoid very soft or thin slices as they may become too compressed.
Can I use a sandwich maker for other foods?
Yes, besides sandwiches, you can use it to grill vegetables, cook thin cuts of meat, or even make waffles if your model has interchangeable plates. Always refer to the manufacturer’s guidelines.
How do I clean my sandwich maker properly?
Ensure the appliance is unplugged and cool. Wipe the plates with a damp cloth and mild detergent. Avoid using abrasive cleaners. For stubborn residue, a soft brush can help. Keep the exterior clean with a slightly damp cloth.
