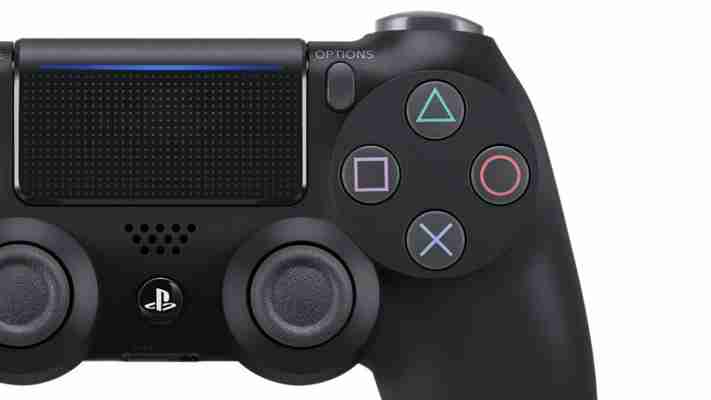
Stooping over a keyboard and mouse can work brilliantly for some PC games, but there are times when you want to sit back and twiddle a pair of thumbsticks. Using an Xbox One controller is simple enough thanks to inbuilt Windows support, but Sony’s PS4 DualShock controller can also be setup for use. Here’s how to use PS4 DualShock controller with PC.
A couple of years ago, doing this required installing special software. This is still the case in some instances, but Steam support has made things considerably easier for playing games. One thing to note, however, is that the PS4 controller’s audio jack remains unsupported, meaning you’ll need to plug headphones into your PC.
All you need to get started is a PS4 DualShock controller, a USB to micro USB controller and a PC. There’s no need to actually own a PS4. The cable is the most straightforward way to connect your controller to your PC, although wireless Bluetooth is also an option. To do this, you’ll need to search for the controller using your PC’s Bluetooth setting. If your PC doesn’t have in-built Bluetooth, you can buy a DualShock 4 USB Wireless Adaptor .
How to connect PS4 DualShock to PC: Using Steam
As of October 2016 , Steam supports PS4 DualShock controllers. This makes things much simpler all around, automatically enabling the hardware for the platform. Steam’s Big Picture Mode can be fully controlled with the PS4 controller, and many titles will now show PS4 button prompts in game.
To get it working, all you should need to do is plug in, load up Steam, and play. If you’re having trouble, it may be that you need to update the version of Steam on your PC. This process should also work for Mac, as long as the Steam game has Mac support.
How to connect PS4 DualShock to PC: Using Windows outside of Steam
Outside of Steam, you’ll need to take a few extra steps to make your PS4 controller work with Windows.
Download DS4Windows
DS4Windows is a free piece of software that works by basically tricking your PC into thinking a PS4 DualShock controller is an Xbox 360 controller. You can use the software’s profile system to switch between various settings for the controller, and even set specific lightbar colours. You can find a download link for the zip file here .
Install and setup DS4Windows
After you’ve downloaded the DS4Windows zip file, right click and select ‘Extract All…’ After you’ve decided a destination folder, you’ll find two files (DS4Windows and DS4Updater). The latter is a useful way to update the software to its newest version, but it’s the former we’re interested in here.
Launch DS4Windows and follow the installation instructions. You’ll be asked where to save your settings and profiles – ‘Appdata’ is the default, and is recommended. Then click ‘Install the DS4 Driver’ if you have Windows 8, Windows 8.1 or Windows 10. If you’re using Windows 7 or below, you’ll need to install an Xbox 360 driver as well – there should be an option for that in the installer.
Connect your PS4 DualShock controller via wire or Bluetooth
After DS4Windows is installed, you should be all set up to use your PS4 DualShock controller with Windows. If you’re using a cable, you’ll need a standard USB to micro USB cable. One will have come with your PS4, but if you don’t have the console you can pick one up from Amazon .
You can also connect without a cable, via Bluetooth. Press and hole the PS button on your controller and the lightbar should start to flash. When this is happening, go into your PC’s Bluetooth settings and connect to the wireless controller. If you’re asked to enter a pair code, enter 0000.

