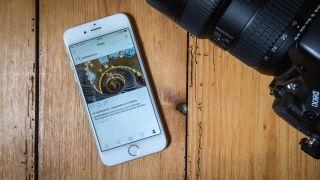
With the likes of Flickr feeling quite unloved at the moment, where does that leave photographers wanting to share their images with a wider audience?
Twitter and Facebook certainly have their place, but for those looking for a more image-lead site should look no further than Instagram.
While it may have built its reputation on its quirky set of filters, square crop-only images and celebrity selfies, many photographers are now using Instagram to share their images and engage with other photographers.
This has never be more true now that you’re no longer restricted by square format images, with Instagram now letting you upload both landscape and portrait format images.
However, unlike Flickr, Twitter and Facebook, Instagram only lets you upload images from your smartphone or tablet via the dedicated app. Not a problem if you’re using it to share your mobile images, but for those wanting to share images they’ve taken with a camera, it can be a bit of a laborious task.
That is unless you’ve got a streamlined workflow that reduces the steps required to a minimum, which is where this tutorial comes in. We’re going to show you how to quickly transfer your images to your smartphone from you laptop or desktop and then share on Instagram.
20 essential Facebook tips and tricks
1. Get Google Drive
For this tutorial, we’re going to use Google Drive, but if you use another cloud-based storage app like Dropbox, it’ll work just the same. All you need to do is make sure you’ve got the app installed on both your computer and smart device.
How to use Google Drive
2. Export your images
We’re going to be using Lightroom to do this, but this can be transferred to other image editing programs.
Select your image, hit Export and in the pop-up box, choose the destination of where you want to send the image - in this case, we’ve created a dedicated Instagram folder within our Google Drive folder.
3. Set the dimensions
Now we’ve selected where we want the image to go, we can set the dimensions. Because Instagram’s maximum image size is 1,080 pixels, we will set that as the size for the Short Edge of the image, then set the sharpening to Screen and Standard (you might want to opt for High however).
4. Go to your smartphone
Hit Export, and then go to Google Drive on your smartphone. Select the Instagram Folder and then tap the three little dots in the top right hand corner and from the options available, select 'Send a copy'. From the next set of options, select 'Open in'.
5. Export to Instagram
Scroll along until you find the Instagram icon, tap on it and it’ll load your image into Instagram, where you can opt to crop it square if you wish, apply filters and then title and tag your image before posting.
Best photo editing apps
14 photo editing tips and tricks every landscape photographer must know
